Monday, October 22, 2012
Catching up!
Tuesday, March 6, 2012
Oh happy day!
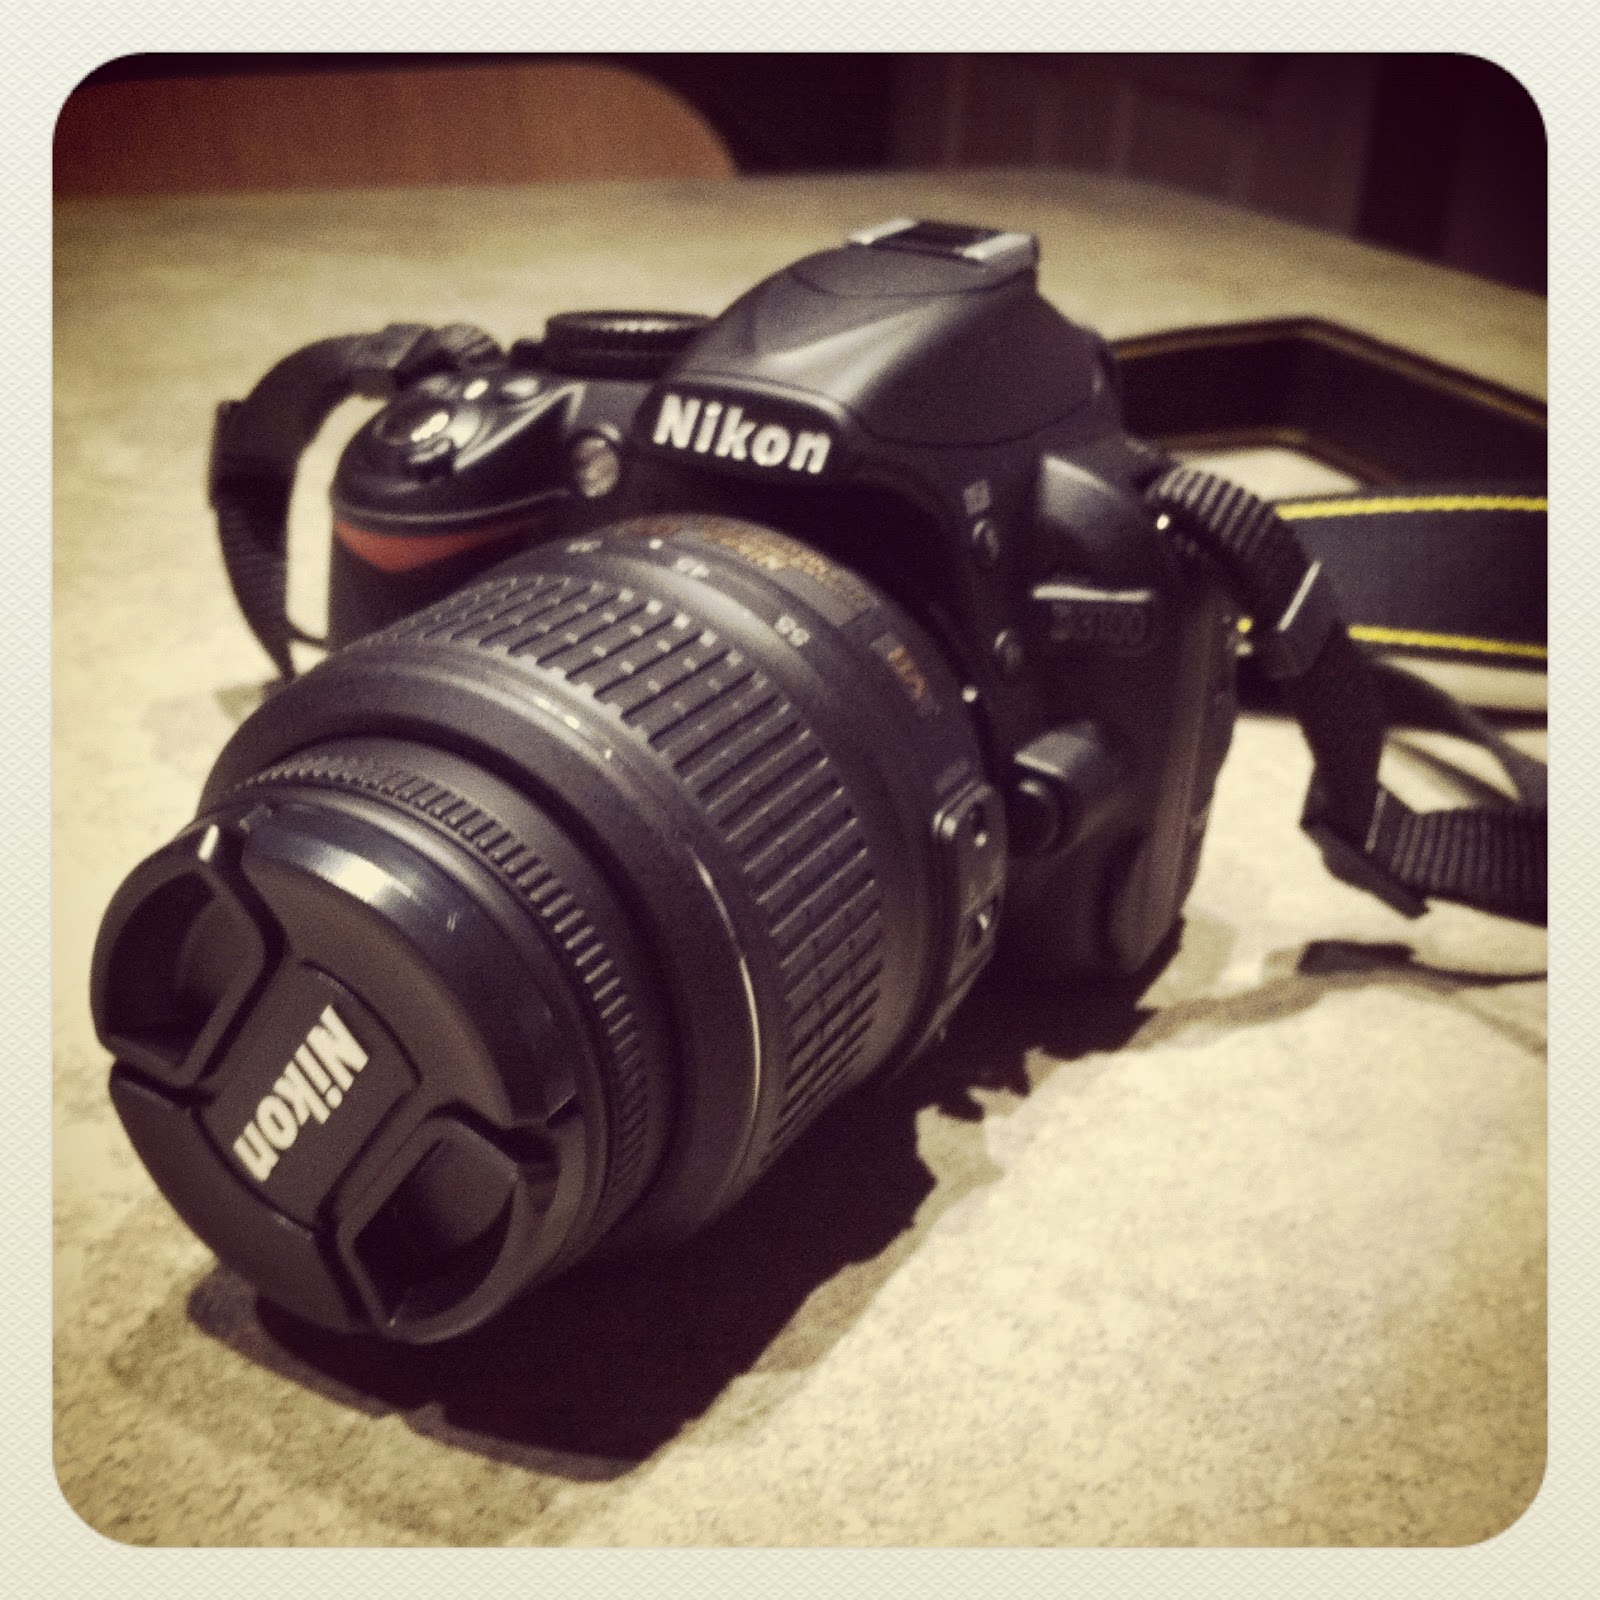
It arrived Monday but we didn't get to open the package until late evening, then it took awhile to charge, so we only got a few photos in. Plus, having nothing interesting to take photos of and it being night time, we got bored after a few minutes. Here are a few of the first of many wondrous photos to come...
| Either... "You humans bore me." or "Stay away from my bag if you know what's good for you." |
| My nearly finished legwarmers! Lesson learned: This is not a flattering angle for my calves. |
Kitteh has claimed this Target bag for her own. We aren't allowed near it. My new honey cowl was trapped under it for awhile but I rescued it yesterday and was able to bind off today. Photos of that to come soon, if I ever get home from work/errands/exercise before dark!
Sunday, February 19, 2012
Hand Warmer Tutorial
Why reinvent the wheel, so I scoured the internet looking for the ideal tutorial. There are plenty out there, but most are no more than a beanbag you hold in your hand. I knew this would never do, so this kept me awake for several nights until the perfect idea popped into my head - a handwarmer with its very own pouch strapped to your hand to hold it in place! It can still fit under a glove or mitten or be worn alone, which is what I plan to do with my own set when my hands get cold from typing all day at work. I decided to make a tutorial during construction of the second set for all you folks out there with hands as cold as mine!
I've put together a sort of photo collage, but there's also written instructions below. The photos seem to have lost some sharpness when I collaged them so if something's not clear let me know!
Materials list
In addition to the usual suspects - sewing machine, scissors or rotary cutter, ruler, iron - you will need:
Rice for filler, I didn't measure but probably half a cup
Two pieces of flannel measuring 9.5" x 4.5"
Four pieces muslin or cotton measuring 4" square
Two pieces 0.25" wide elastic cut to 4" length
Velcro, I used two sets of the little sew-on circle pairs
Instructions
1. Begin assembling the rice bags! Remember you are making two. Begin by pairing two pieces of muslin (if your fabric has a print these will be wrong sides together) and sewing a 1/4 inch seam around three sides. Trim your seam and clip the corners, being careful not to cut the stitches. Turn and press flat.
2. Sew another 1/4 inch seam around the same three sides. You want to catch the previous seam in this seam allowance so there's no stray threads on the outside. Turn and press again, now it looks normal on the outside - photo 2 - but you have no raw edges inside the bag. (Why do we do it this way? No shoddy seams here! I think a mini rice explosion while on your way to work in the morning would be wrong way to start the day.)
3. Sew the channels for the rice now. I just divided the bag into rough thirds and stitched a straight line, stopping 1/2 inch from the open edge. No need to be exact with the width of the channels. I didn't take a photo of this, but now would be a good time to fold down both sides of the open end 1/4 of an inch and press. You'll be sewing the bag closed here later and it's easier to fold the seam down when the bag is empty.
4. Fill with rice! I used a small kitchen funnel, or you can make a paper cone. Fill so the channel is full but not so much that the bag is stiff. Then using either your machine or a whipstitch, close the bag at the seam you pressed in step three. Your rice bags are complete! If you need to change the rice out in the future, this seam is where you can remove the stitching for refilling.
5. Now we move on to the flannel pouch. Turn a 1/4 inch hem on the long sides and press. On the short sides, turn a 1/4 inch and press then repeat. Topstitch the short sides only.
7. Now we close up the pouch and attach the elastic. Fold up the bottom of the pouch to the mark again and pin it in place. Insert the edge of the elastic into one side of the pouch and pin or hold it in place. It should be about in the middle. Starting at the top of the flap, stitch all the way down to seal up one side of the pouch, making sure to catch the elastic in the seam. Flip the pouch over and sew the elastic down again as in photo 8 to secure it to the back of the pouch.
8. Sewing up the other side will be a bit trickier. You should be looking at the back side of the pouch. Tuck in the other end of the elastic, I recommend pinning it into place. The pouch will bunch up. From the back side, stitch down the side of the pouch starting at the bottom this time. I backstitched over the elastic to secure it.
Now heat up the rice bags, pop them into their pouches and wear your new warmers! Since personal preferences and microwaves vary, I recommend starting with
**Here is a tip now that I've tested out my own set. Maybe add a drop of essential oil or a bit of potpourri. When you heat it up it smells like dinner is ready! Lavender is a nice relaxing scent to try.
Monday, August 3, 2009
I'm in the Spotlight!
On a side note, sorry I've been absent from the blog lately. Usually I blog while eating lunch at work, and I've been so busy that I work straight through my lunch! Then I come home and sew all evening. It's good to be busy though, so I'm not complaining.
Make sure to check out the new items I have in my shop!
Whew it's been so long I almost forgot how to code links in html. I've got to update more often! I'll try to post again later in the week. More shop updates to come later!
Friday, March 27, 2009
News + Fun Friday Links
Ok I guess the show wasn't that bad. People always take cards, although I wonder if they ever really look at my site after that. I usually don't go back to look online when I pick up cards at craft fairs, I'm sorry to say it. But, there were some great sellers next to us that offered some really good tips for wholesale options and upcoming shows! As my amazing assistant reminded me, you can't always judge a fair by the number of sales. It could be a total success as far as networking and advice, which could generate way more sales than you had on that day.
Plenty of new items came out of the mad sewing extravaganza that was last week. I've already posted the polka dot linen baskets and there are more on the way, and my sister made a ton of coasters similar to these (all by herself!) that I will put up some pictures of soon. A few mail holders, a ton of pillow cases, and some fabric wrapping paper round out the home decor items. New bags include 5 Kensingtons, 4 Sunburys, and 6 West end Clutches!
How cute is this hot pink clutch? The inside is an awesome green cotton with white polka dots. Reminds me of juicy watermelons :). Once I get some pictures snapped then I will post all of these amazing new items in the shop!
Onto what we've all been waiting for, the fun Friday links! I know I missed last week, but I barely stopped sewing all day. The boyfriend and I both took vacation that day and I was extremely upset with myself that I didn't hang out with him more. Well let's not dwell on the past, onto the links!
1. I've really been loving teapots lately. I think it's because I suddenly remembered my old tea kettle was lost in the move (as well as my copy of In Stitches...sad day) and I had to heat up my water in the microwave. So I've been shopping for a new kettle on Etsy. But are teapots only for water that's already hot? I found some great vintage enameled ones that I love, and also some handmade ceramic pots that are perfect for just one or two cups! I'm not sure if either of those can actually go on the stove. Can anyone help me out? Here are some of my favorites on Etsy though. Green is one of my top 3 colors right now :)
TEAPOT small leaf green vintage by Kalivoda
Chartreuse Teapot by utilemud
Teapot in Turqoise Green by sierraclayart
2. Although I really love decorating our house myself and finding unique ways to use ordinary objects, sometimes you just want a room straight out of a catalogue. Mostly, this happens to me with Ikea. But when the CB2 catalog came yesterday I could not put it down! I immediately fell in love with this outdoor sectional. If only I lived in a place where it didn't rain ALL THE TIME that would look great on our patio. Although I should be kind to Cleveland and let you all know that today it is sunny (after 2 days of chilly spring rain, and yes it definitely rained harder and colder every time I had to go outside).
3. An interesting quiz on portion control, and how portion sizes at restaurants and stores have become practically gargantuan over the past 20 years. Makes you wonder how anyone manages to stay slim and fit in this society! Of course taking the quiz totally made me want a big blueberry muffin. Go figure.
4. Ok I know I'm promoting someone who is already being promoted, but I absolutely love meganaumen's work! Someone's blog linked to it about a month ago and I fell in love with the pendant lamp but when I saw the price I decided not to even mention it to the boyfriend. She's now Etsy's featured seller and I have to look at her beautiful work every time I log in! Someday I hope...
And those are the links for this Friday! Hopefully this weekend I can get some photos snapped of my new items and put them in the shop!
Tuesday, March 17, 2009
Pretty Linen Baskets
What is this show you ask? It's the Valley Forge High School 12th Annual PTSA Spring Craft Fair! Whew that's a mouthful. It's this Saturday, March 21st, from 9am-3pm at Valley Forge, my alma mater! Admission is free, so check it out if you're in the area! Ask me for directions if you need them!
Tuesday, March 10, 2009
Finally some progress!
Well these 5 Charing Cross Slings were complete as of Saturday and my photographer came over Sunday to take these beautiful photos of them!
You can see more about them and maybe even purchase one at my etsy shop here. I can't seem to pick a favorite because I spent time on each one so I love them all! But if I had to pick a best seller I'm totally calling that brown and aqua plaid one in the front. It is so stylish!
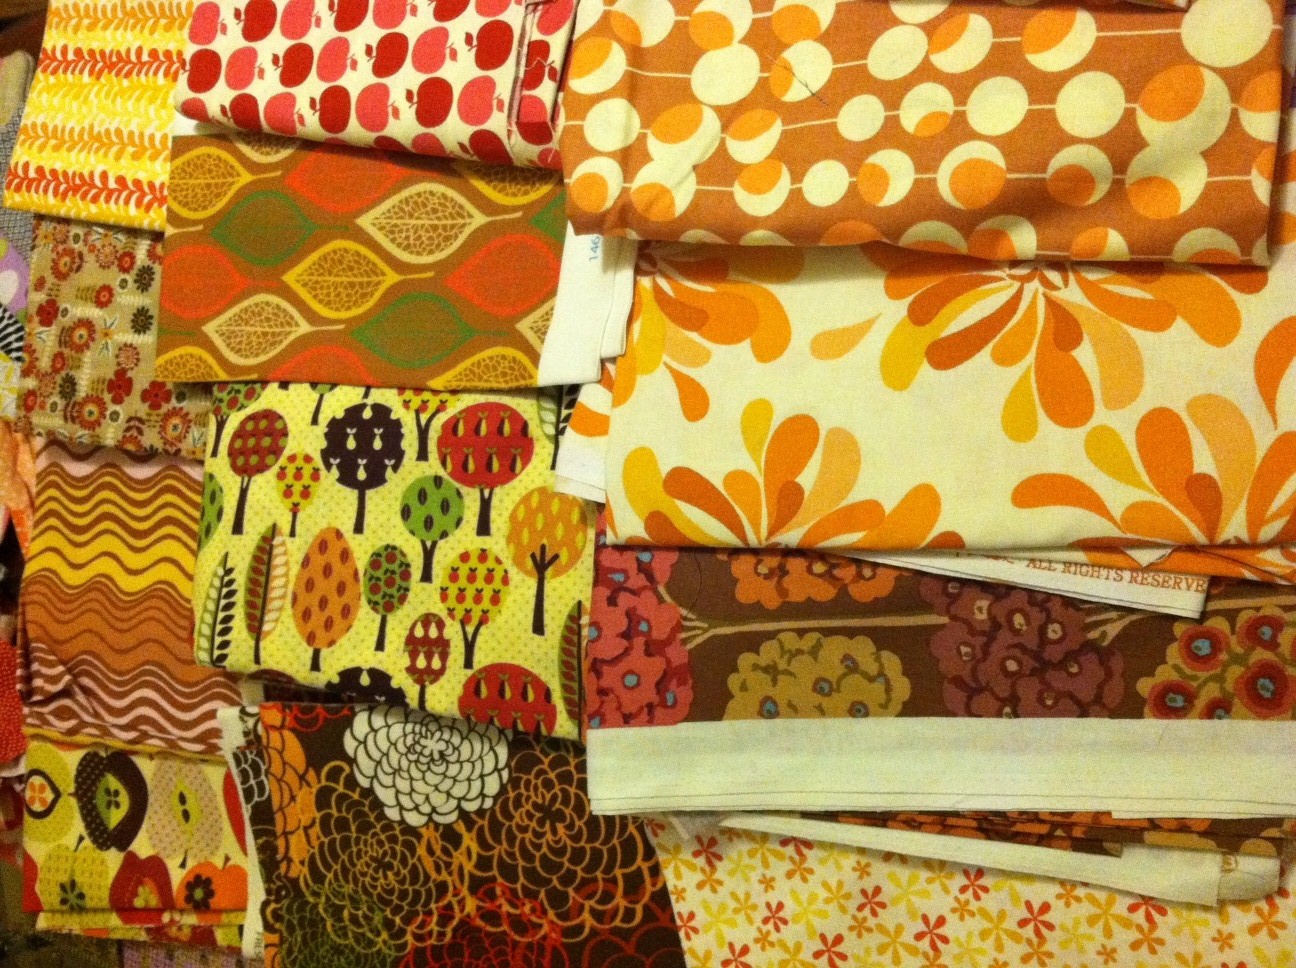
In other news, we got a ton of other work done Sunday as well! Instead of dragging my entire fabric collection to shows and purse parties (which is really becoming a problem because it never stops growing!), I will have a swatch book with samples of all my fabrics! Soo much easier right? And each time I buy a new fabric I can just snip a little swatch and add it to the book. This will also be a great help for inventory tracking and also taking custom orders. I don't have to get confused when I have written "black and white fabric with flowers" then I look at my stash and I have 3 of them!
I was thinking I can assign each swatch a number, then maintain a spreadsheet with inventory levels, designer info, pricing and reorder instructions. AND I can link it to photos of the fabric just in case I forget what Amy Butler's Wallflower in Mustard looks like (yeah right). How dorky is that, right? I love Excel too much.
So anyways we're almost done with all of my patterned quilting cotton (not doing solid cottons) and now there's only canvas, corduroy, and duck fabric. Thank goodness I have less of those at least!
Tuesday, February 3, 2009
Indulgence

They're pink! And sooo pretty. I agonized over them for several minutes while the boyfriend gave me impatient looks and remarked about how I would never wear them because I never wear heels. Finally I put them back and went over to a different shoe aisle (by the way we did not go to the store to buy shoes). I picked out a sensible yet sexy pair of pointy black heels because my high ones are no longer in style and they are scuffed (which is true) and my short ones are too short for all of my dress pants. These are real justifications! :)
So then I put both pairs in the cart, just in case I wanted the pink ones after all, and of course I did so I left Target with two new pairs of heels! Since it was so warm on Sunday, I decided to wear them for the rest of the day. They hurt my feet and looked a little strange with my Columbia ski jacket, but I'm still happy that I bought them!
Although it's February I'm adding a new resolution to the list: wear my new pink heels so the boyfriend has no reason to gloat.