Showing posts with label completed. Show all posts

Monday, October 22, 2012

Catching up!

I know I've been quiet lately on the blog front, and I never finished my London series of posts. Whenever I read bloggers apologizing for their absence I roll my eyes, yet I always seem to be one of them. Life has been happening lately though, so what can you do.

The biggest piece of life that has been happening lately is that I'm pregnant! I'm actually seven months pregnant now, eek! We are having a little girl and just about every waking moment has been spent prepping and crafting for her arrival on or around January 3, 2013.


It's getting harder to lean over my sewing table to measure and cut so I'm trying to get as much done now as I can!

I have tons and tons of finished projects to take photos of and post about. I use Ravelry for all of my knitting projects, I really wish we had something like that for sewing. Instead I'll try to discuss my comments on the patterns and fabric in the blog post. I've been doing a lot of iPhone photos lately (so convenient!) but I'd like to get some higher quality ones with the real camera on a nice day.

My latest project started off as Halloween related, but I dragged my feet on it and finally just whipped these babies up yesterday. They can totally be used until Thanksgiving though since I made the sashing brown! I used the Pumpkin Block Tutorial at Sew Lux, and just used the coaster directions since I only made two blocks. I really only need one (the dots of course!), so I'm going to gift the other one. I actually like the plain one better, but the binding looks nicer so I'll give it away.


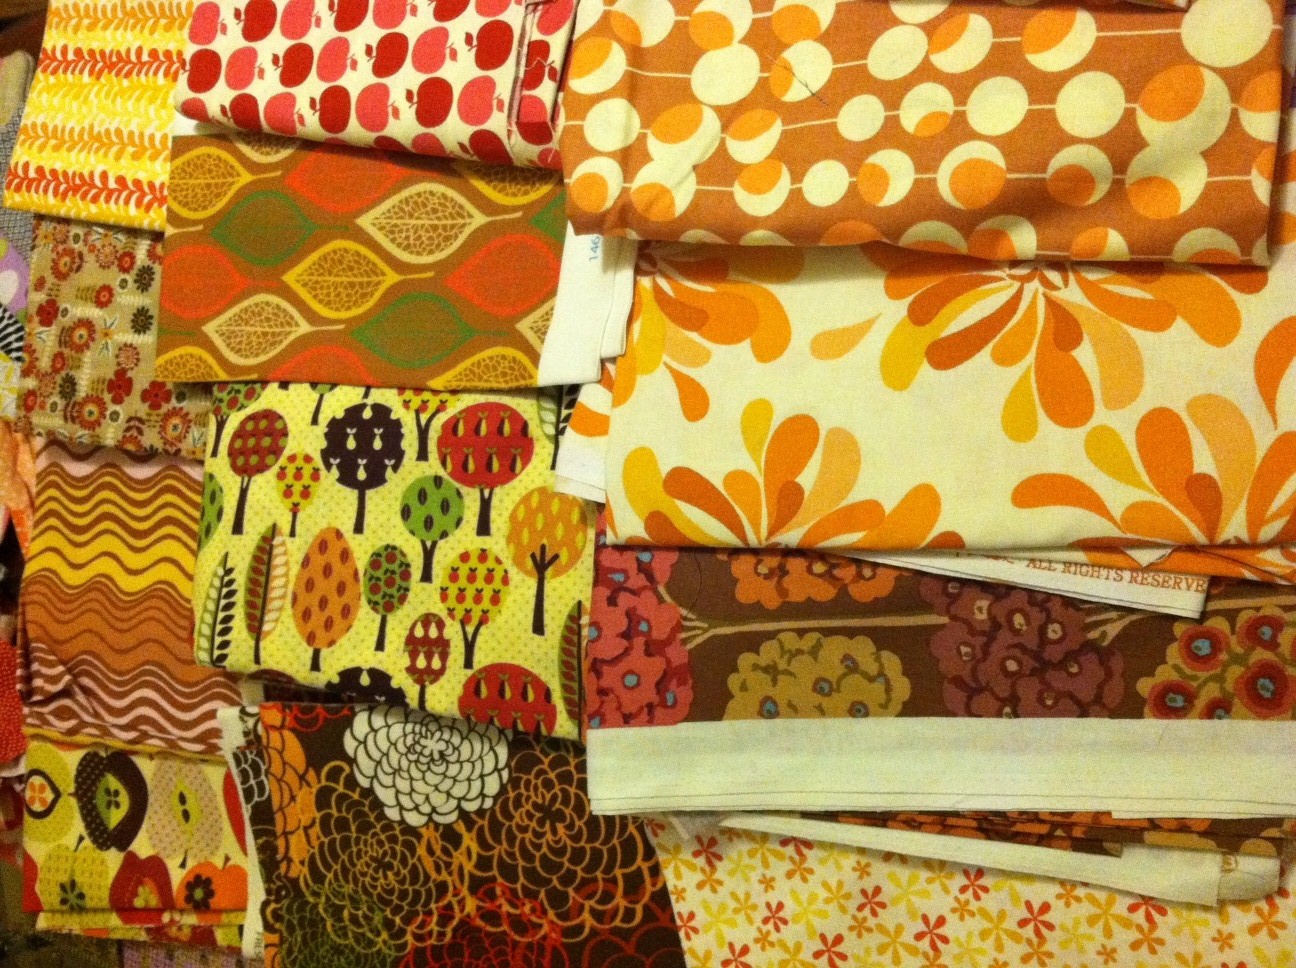
Orange is probably the smallest color in my stash, so these were actually the only two suitable fabrics which is why I only made two blocks. That also may have something to do with the fact that I pulled out all of my fallish fabrics at least a year ago for a quilt and the pile is still sitting on my second sewing table! I forgot all about them. None of these really would have worked anyways right?

Overall the block was really easy, and I'm pretty sure I spent less than two hours on the whole project. I wanted a little mug rug for myself to keep on my desk at work. Originally I was going to do the three blocks but it seemed too big, then I was going to do just one block and free motion the word BOO! next to it or maybe piece some little candy corns. Then it took me so long to think about how I wanted to do the project that I never actually started, so I said to heck with it and I just made the simple block with brown sashing so that it could be used all fall. Why do I overthink projects?

Also, I used Fusi-Boo batting (two layers) and ended up doing binding to put a little more orange into it. Maybe if I had used the plain binding on the dot pumpkin, I'd like that one better. I must have been confused because I thought my block was 5" square (it was 5.5") so I only cut 22" of binding, thinking I had extra! It was really close at the end there. Next time, 24" at least.

I do really want to finish posting about my London trip! To make it a little less daunting, I'll sum up London in just one post with lots of pictures and a list of where we went and what we did, instead of descriptions of every.last.detail. I still have yet to really go through the pictures and print them out or put them on Facebook even, so that has been the biggest hurdle! I'd like to do it soon before I forget what all we did though. We found some really great local restaurants and stores so maybe it will help someone planning a future trip. Or we can reference it when we go back (and we are SO going back!)

Sunday, February 19, 2012

Hand Warmer Tutorial

Awhile back my grandma asked me to make her some rice handwarmers. She had a few stipulations and suggestions of course (this is the grandma who taught me how to sew, she's quite particular about this kind of thing!). She wanted them for driving, so because of that she wanted to wear them on the back of her hand so she could still grip the wheel. Also, they were to have channels so all the rice doesn't gather in one corner. She also wanted them for Christmas, and so I had only a week to come up with something!

Why reinvent the wheel, so I scoured the internet looking for the ideal tutorial. There are plenty out there, but most are no more than a beanbag you hold in your hand. I knew this would never do, so this kept me awake for several nights until the perfect idea popped into my head - a handwarmer with its very own pouch strapped to your hand to hold it in place! It can still fit under a glove or mitten or be worn alone, which is what I plan to do with my own set when my hands get cold from typing all day at work. I decided to make a tutorial during construction of the second set for all you folks out there with hands as cold as mine!


I've put together a sort of photo collage, but there's also written instructions below. The photos seem to have lost some sharpness when I collaged them so if something's not clear let me know!

Materials list

In addition to the usual suspects - sewing machine, scissors or rotary cutter, ruler, iron - you will need:

Rice for filler, I didn't measure but probably half a cup
Two pieces of flannel measuring 9.5" x 4.5"
Four pieces muslin or cotton measuring 4" square
Two pieces 0.25" wide elastic cut to 4" length
Velcro, I used two sets of the little sew-on circle pairs

Instructions

1. Begin assembling the rice bags! Remember you are making two. Begin by pairing two pieces of muslin (if your fabric has a print these will be wrong sides together) and sewing a 1/4 inch seam around three sides. Trim your seam and clip the corners, being careful not to cut the stitches. Turn and press flat.

2. Sew another 1/4 inch seam around the same three sides. You want to catch the previous seam in this seam allowance so there's no stray threads on the outside. Turn and press again, now it looks normal on the outside - photo 2 - but you have no raw edges inside the bag. (Why do we do it this way? No shoddy seams here! I think a mini rice explosion while on your way to work in the morning would be wrong way to start the day.)

3. Sew the channels for the rice now. I just divided the bag into rough thirds and stitched a straight line, stopping 1/2 inch from the open edge. No need to be exact with the width of the channels. I didn't take a photo of this, but now would be a good time to fold down both sides of the open end 1/4 of an inch and press. You'll be sewing the bag closed here later and it's easier to fold the seam down when the bag is empty.

4. Fill with rice! I used a small kitchen funnel, or you can make a paper cone. Fill so the channel is full but not so much that the bag is stiff. Then using either your machine or a whipstitch, close the bag at the seam you pressed in step three. Your rice bags are complete! If you need to change the rice out in the future, this seam is where you can remove the stitching for refilling.

5. Now we move on to the flannel pouch. Turn a 1/4 inch hem on the long sides and press. On the short sides, turn a 1/4 inch and press then repeat. Topstitch the short sides only.

6. Time for Velcro attachment. On the wrong side of the flannel, place the soft piece of Velcro at one end in the center, as close as you can get to the seam without overlapping and stitch it down. This is best seen in photo 7 actually. You will have stitches showing on the right side of the flannel, so make sure your bobbin thread matches and try to make the stitches look nice. You could also glue a button down later to pretty it up a bit! For the second piece of Velcro, the rough one, you'll have to figure out the placement based on where you put the first piece. Make a mark six inches from the edge without the Velcro. Fold up the flannel into a pouch with the edge at the mark. Fold the flap over, see if it fits. Adjust it until it looks perfect. Now make a mark on the right side of the flannel where the other piece of Velcro should go and stitch it down.

7. Now we close up the pouch and attach the elastic. Fold up the bottom of the pouch to the mark again and pin it in place. Insert the edge of the elastic into one side of the pouch and pin or hold it in place. It should be about in the middle. Starting at the top of the flap, stitch all the way down to seal up one side of the pouch, making sure to catch the elastic in the seam. Flip the pouch over and sew the elastic down again as in photo 8 to secure it to the back of the pouch.

8. Sewing up the other side will be a bit trickier. You should be looking at the back side of the pouch. Tuck in the other end of the elastic, I recommend pinning it into place. The pouch will bunch up. From the back side, stitch down the side of the pouch starting at the bottom this time. I backstitched over the elastic to secure it.

Now heat up the rice bags, pop them into their pouches and wear your new warmers!  Since personal preferences and microwaves vary, I recommend starting with 30 seconds (ouch! more like 15 or 20 seconds) and working your way up. The rice bag fits with the channels horizontally, by the way. Enjoy! I'd love to hear if anyone makes their own!

**Here is a tip now that I've tested out my own set. Maybe add a drop of essential oil or a bit of potpourri. When you heat it up it smells like dinner is ready! Lavender is a nice relaxing scent to try.

Saturday, February 11, 2012

some of the latest FOs

I've been trying to wrap up some of my WIP lately, mostly to declutter the couch of half knitted items, make room to start on new projects, and keep my sewing room tidy. Since it's nice and bright (due to a blizzard!) I was able to get some photos in my sewing room this morning.

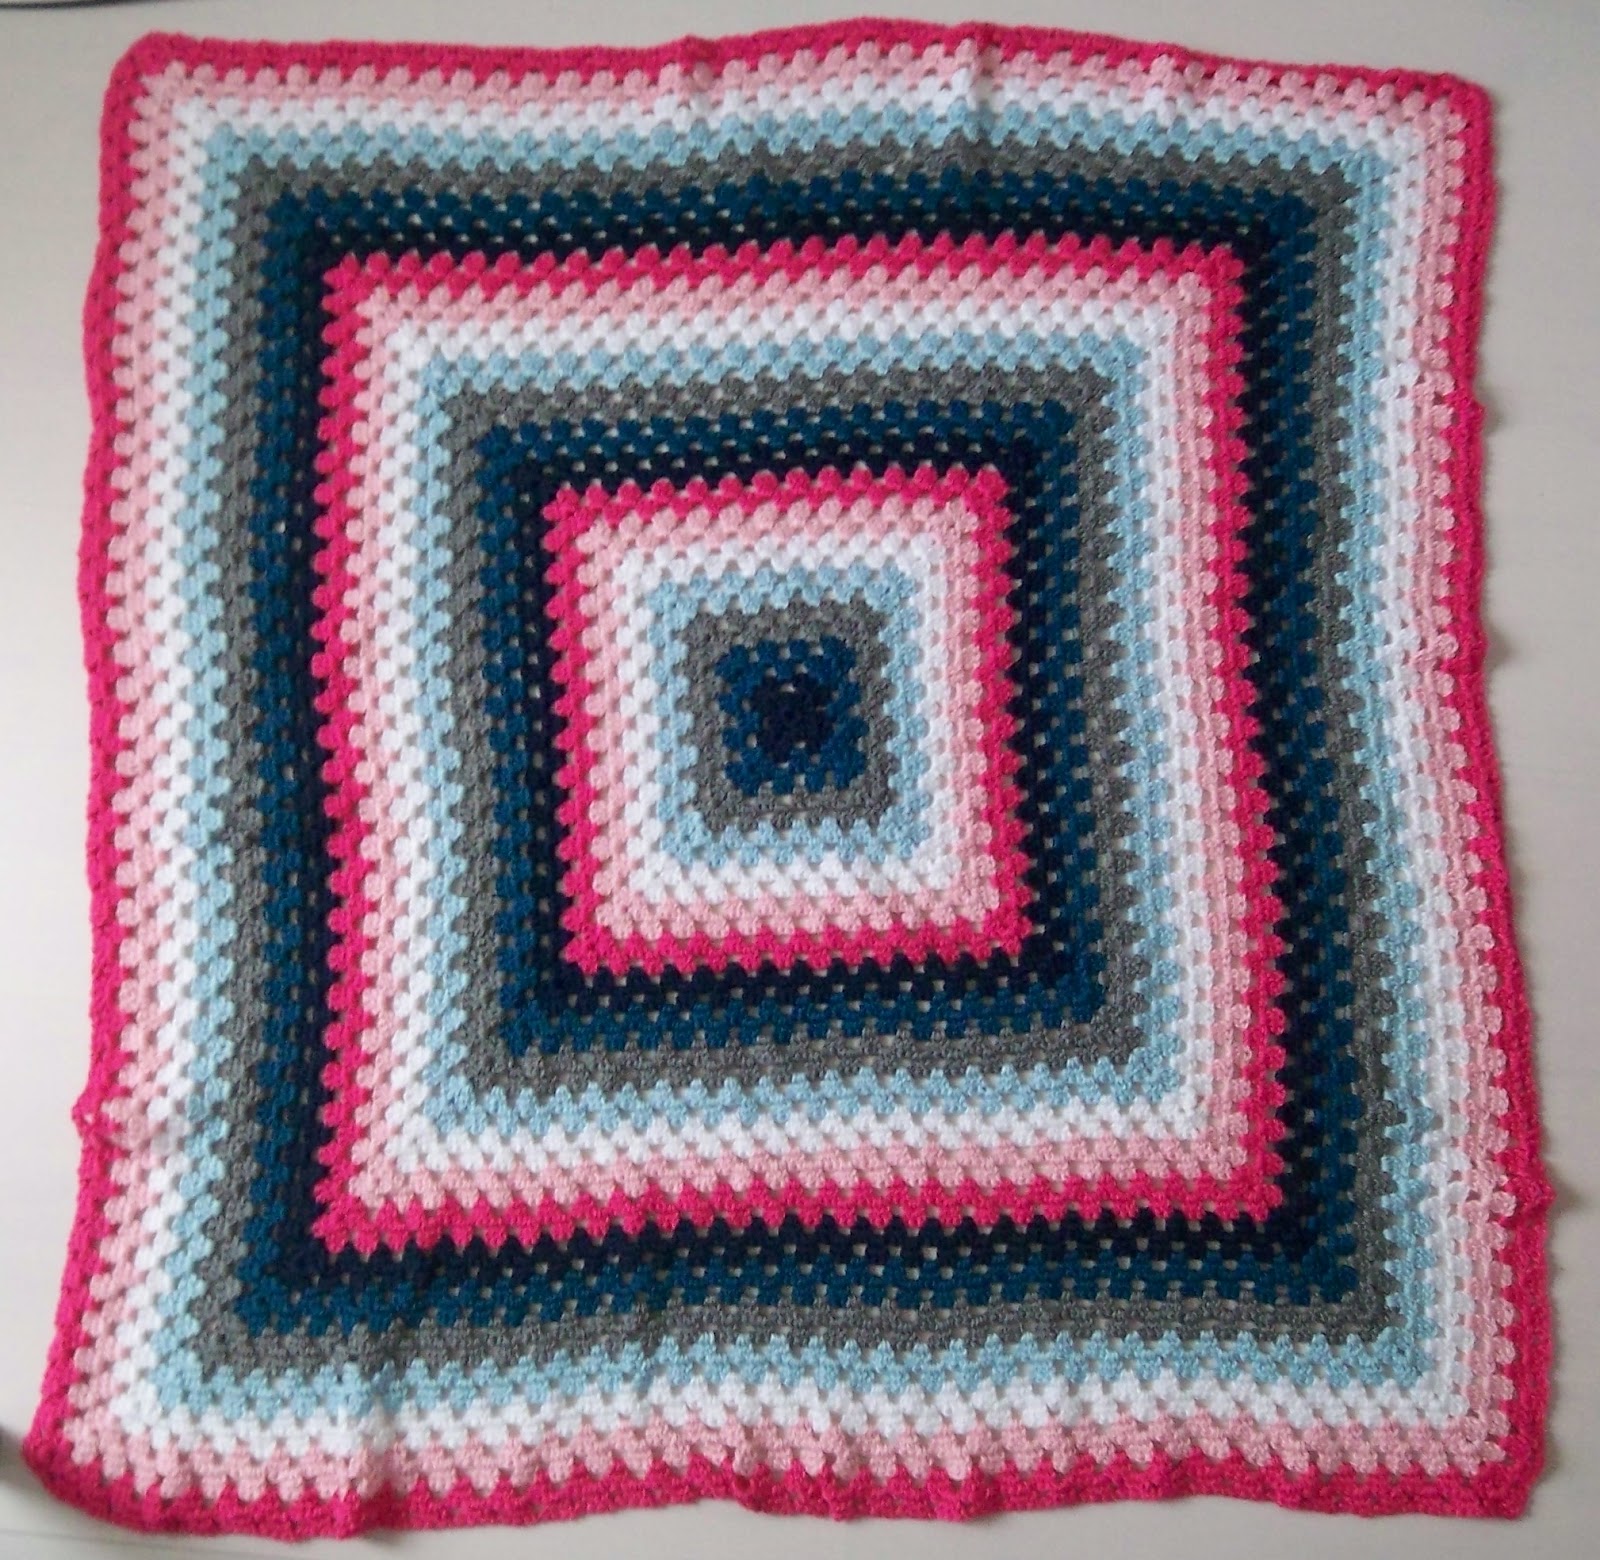
First up is a giant granny square blanket! The thought of making zillions of granny squares then sewing them together was pretty daunting, so after seeing Joelle's Giant Granny Square Blanket on The Purlbee I decided to just keep on going with round after round of color. My latest color combo fetish is pink and navy, so although this matches absolutely none of my decor I'm hoping to be able to use it in a baby's room someday.


Yarn: Caron Simply Soft -  Dark Country Blue, Ocean, Grey Heather,
Soft Blue, Coconut, Soft Pink and Watermelon
Amount: One 6 oz. skein of each.
Hook: Size H8
Pattern: Granny Square
Finished Size: 42" x 42" when slightly stretched

I just kept going until I ran out of yarn. There is probably enough for one more round of navy but I liked ending with the pink. I only have scraps of the watermelon left. I really enjoyed having this project to work on. It probably took a few weeks but I didn't work on it every night, and sometimes I just did a round at a time, especially towards the end. This is pretty loose and drapey, probably more of a spring or summer throw. My toes always seem to pop out between the dc's. Overall, I really enjoyed making this blanket and would definitely make another one. Just think of some of the color combinations!
My second blanket is also a Purlbee pattern, although technically this one isn't finished yet. I used the Bulky Baby Blankets pattern in seed stitch. I think this would look better in the recommended yarn, but I didn't want to shell out for the Spud & Chloe Outer when I don't even have a baby yet! This tweedy yarn was on sale so I picked it up with this project in mind. There must have been some extra yardage because I made it well past square before I even realized. I do like the yarn but I kind of wish I hadn't gone with the tweed. It's not very baby-ish. I think a bright color yarn for the binding will brighten it up. Oh yeah, did you notice it's not quite finished? I'm tucking this away for the future and I can choose the color when the time is right!


Yarn: Gedifra Riana Big in White
Amount: 8 skeins
Needles: Size 15, 29" circular
Finished size: haven't measured it yet but the width is about pattern size

Finally, something that's not knitted! My husband has an iPad for work (lucky duck, right?) and although he told me not to get too attached to it, as soon as he brought it home this case idea popped into my head.


I absolutely love the leather Apple logo applique!


I have a bunch of this tan leather but I don't sew with it often, so this was nice practice. I want to make a matching travel bag for myself for our London trip, so this was kind of a warm-up. The tweed has a great soft texture and holds its shape with some interfacing. The leather is very stiff and really provides support to the case. Also the lining is wool felt, which is soft for the screen and also adds a bit of thickness. I used a velcro closure...I was on the fence about this. I think it takes away some of the classiness but I wasn't sure about using a magnetic snap around the electronics. Does anyone know what the rules are for that?

I think I might make a few more of these for the shop. I just need to make sure I can still find the tweed fabric because it's very pricey, so I only picked up a yard. I wish my camera was better because the color is so much richer in person. There is a warm brown tone to the fabric with flecks of gold and orange throughout. I can't wait to use this tweed again!